This is where AWS Lambda Comes in. If you sign into your AWS Console click on Services > Lambda You can then edit the Node.Js that is powering your IoT button by clicking on the function that matches the SERIAL # of your IoT button. You can then edit the code inline. It's pretty basic stuff. All I have done to make ifttt cleaner is made this change from:
const makerEvent = `${event.serialNumber}-${event.clickType}`;to
const makerEvent = `BLDG_A-${event.clickType}`;
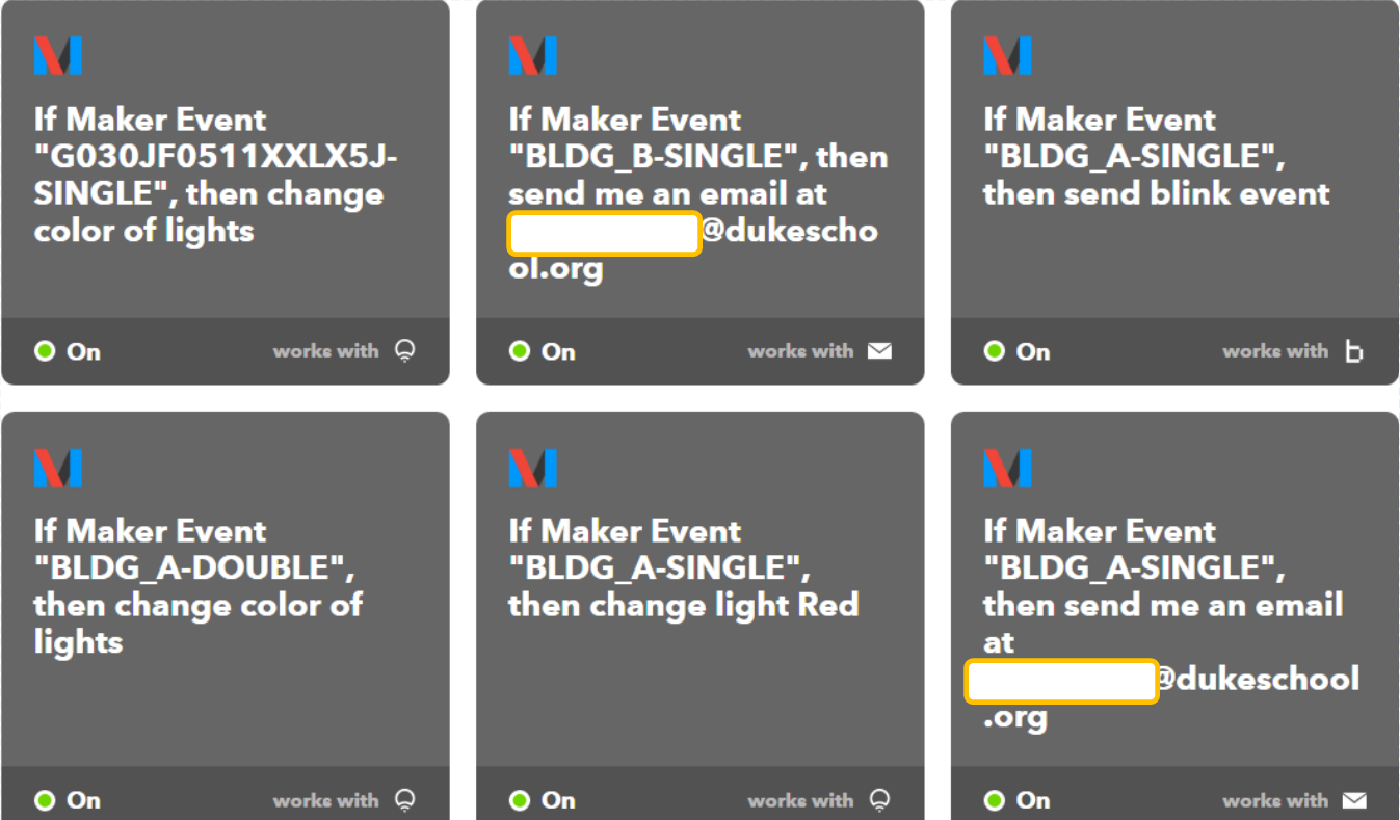
By removing the variable of the ${event.serialNumber} I was able to make my IFTTT Applets much cleaner, and I eliminated unneccesary work in the event that I have to replace an IFTTT button. Rather than renaming all of my applets, I only have to change the Event name in once place upon deployment of the IoT button.
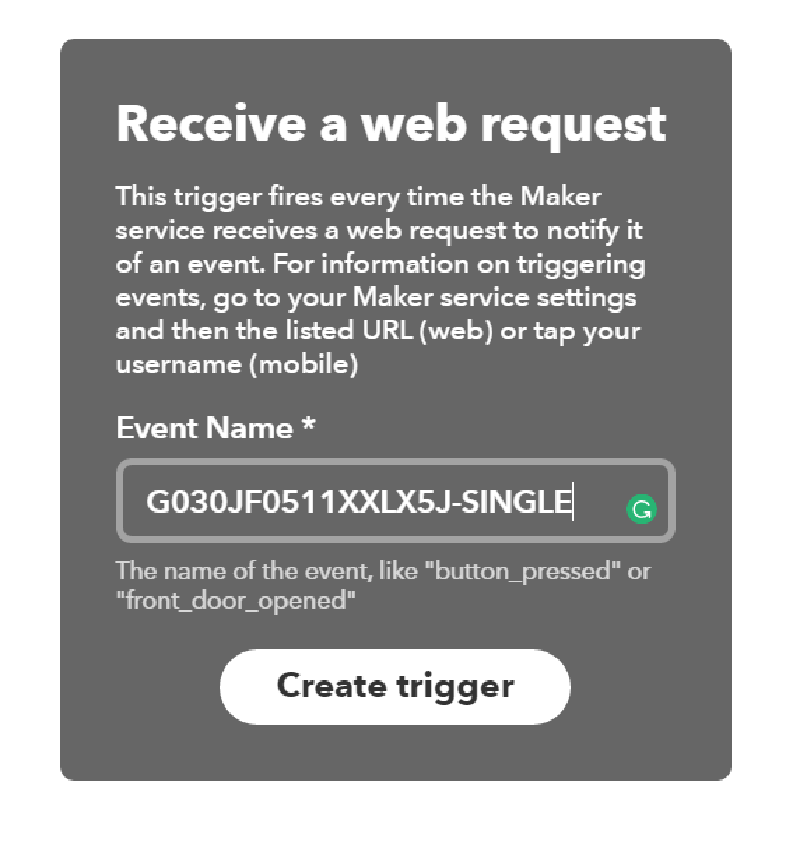
by changing it at the const "makerEvent" it's passed along to the maker trigger:
https://maker.ifttt.com/trigger/${makerEvent}/with/key/${makerKey}
Below is the entire code in context, it's pretty straight forward.
I did try to use a switch / call function to make a variable list of serial #s which would pair building names with serial numbers, but Lambda severly disliked every implementation I attempted. When I have more time I'll try it with the python IFTTT code using if, elseif functions.
/**
* This is a sample that connects Lambda with IFTTT Maker channel. The event is
* sent in this format: <serialNumber>-<clickType>.
*
* The following JSON template shows what is sent as the payload:
{ "serialNumber": "GXXXXXXXXXXXXXXXXX",
"batteryVoltage": "xxmV",
"clickType": "SINGLE" | "DOUBLE" | "LONG"
}
*
* A "LONG" clickType is sent if the first press lasts longer than 1.5 seconds.
* "SINGLE" and "DOUBLE" clickType payloads are sent for short clicks.
*
* For more documentation, follow the link below.
* http://docs.aws.amazon.com/iot/latest/developerguide/iot-lambda-rule.html
*/
'use strict';
const https = require('https');const makerKey = 't4J1j7BkVMXmJxshaeRye'; // change it to your Maker key
exports.handler = (event, context, callback) => { console.log('Received event:', event); // make sure you created a receipe for event <serialNumber>-<clickType>
const makerEvent = `BLDG_A-${event.clickType}`; const url = `https://maker.ifttt.com/trigger/${makerEvent}/with/key/${makerKey}`; https.get(url, (res) => { let body = '';
console.log(`STATUS: ${res.statusCode}`); res.on('data', (chunk) => body += chunk); res.on('end', () => { console.log('Event has been sent to IFTTT Maker channel'); callback(null, body);
});
}).on('error', (e) => { console.log('Failed to trigger Maker channel', e); callback(`Failed to trigger Maker channel: ${e.message}`); });
};
 AWS IOT Button
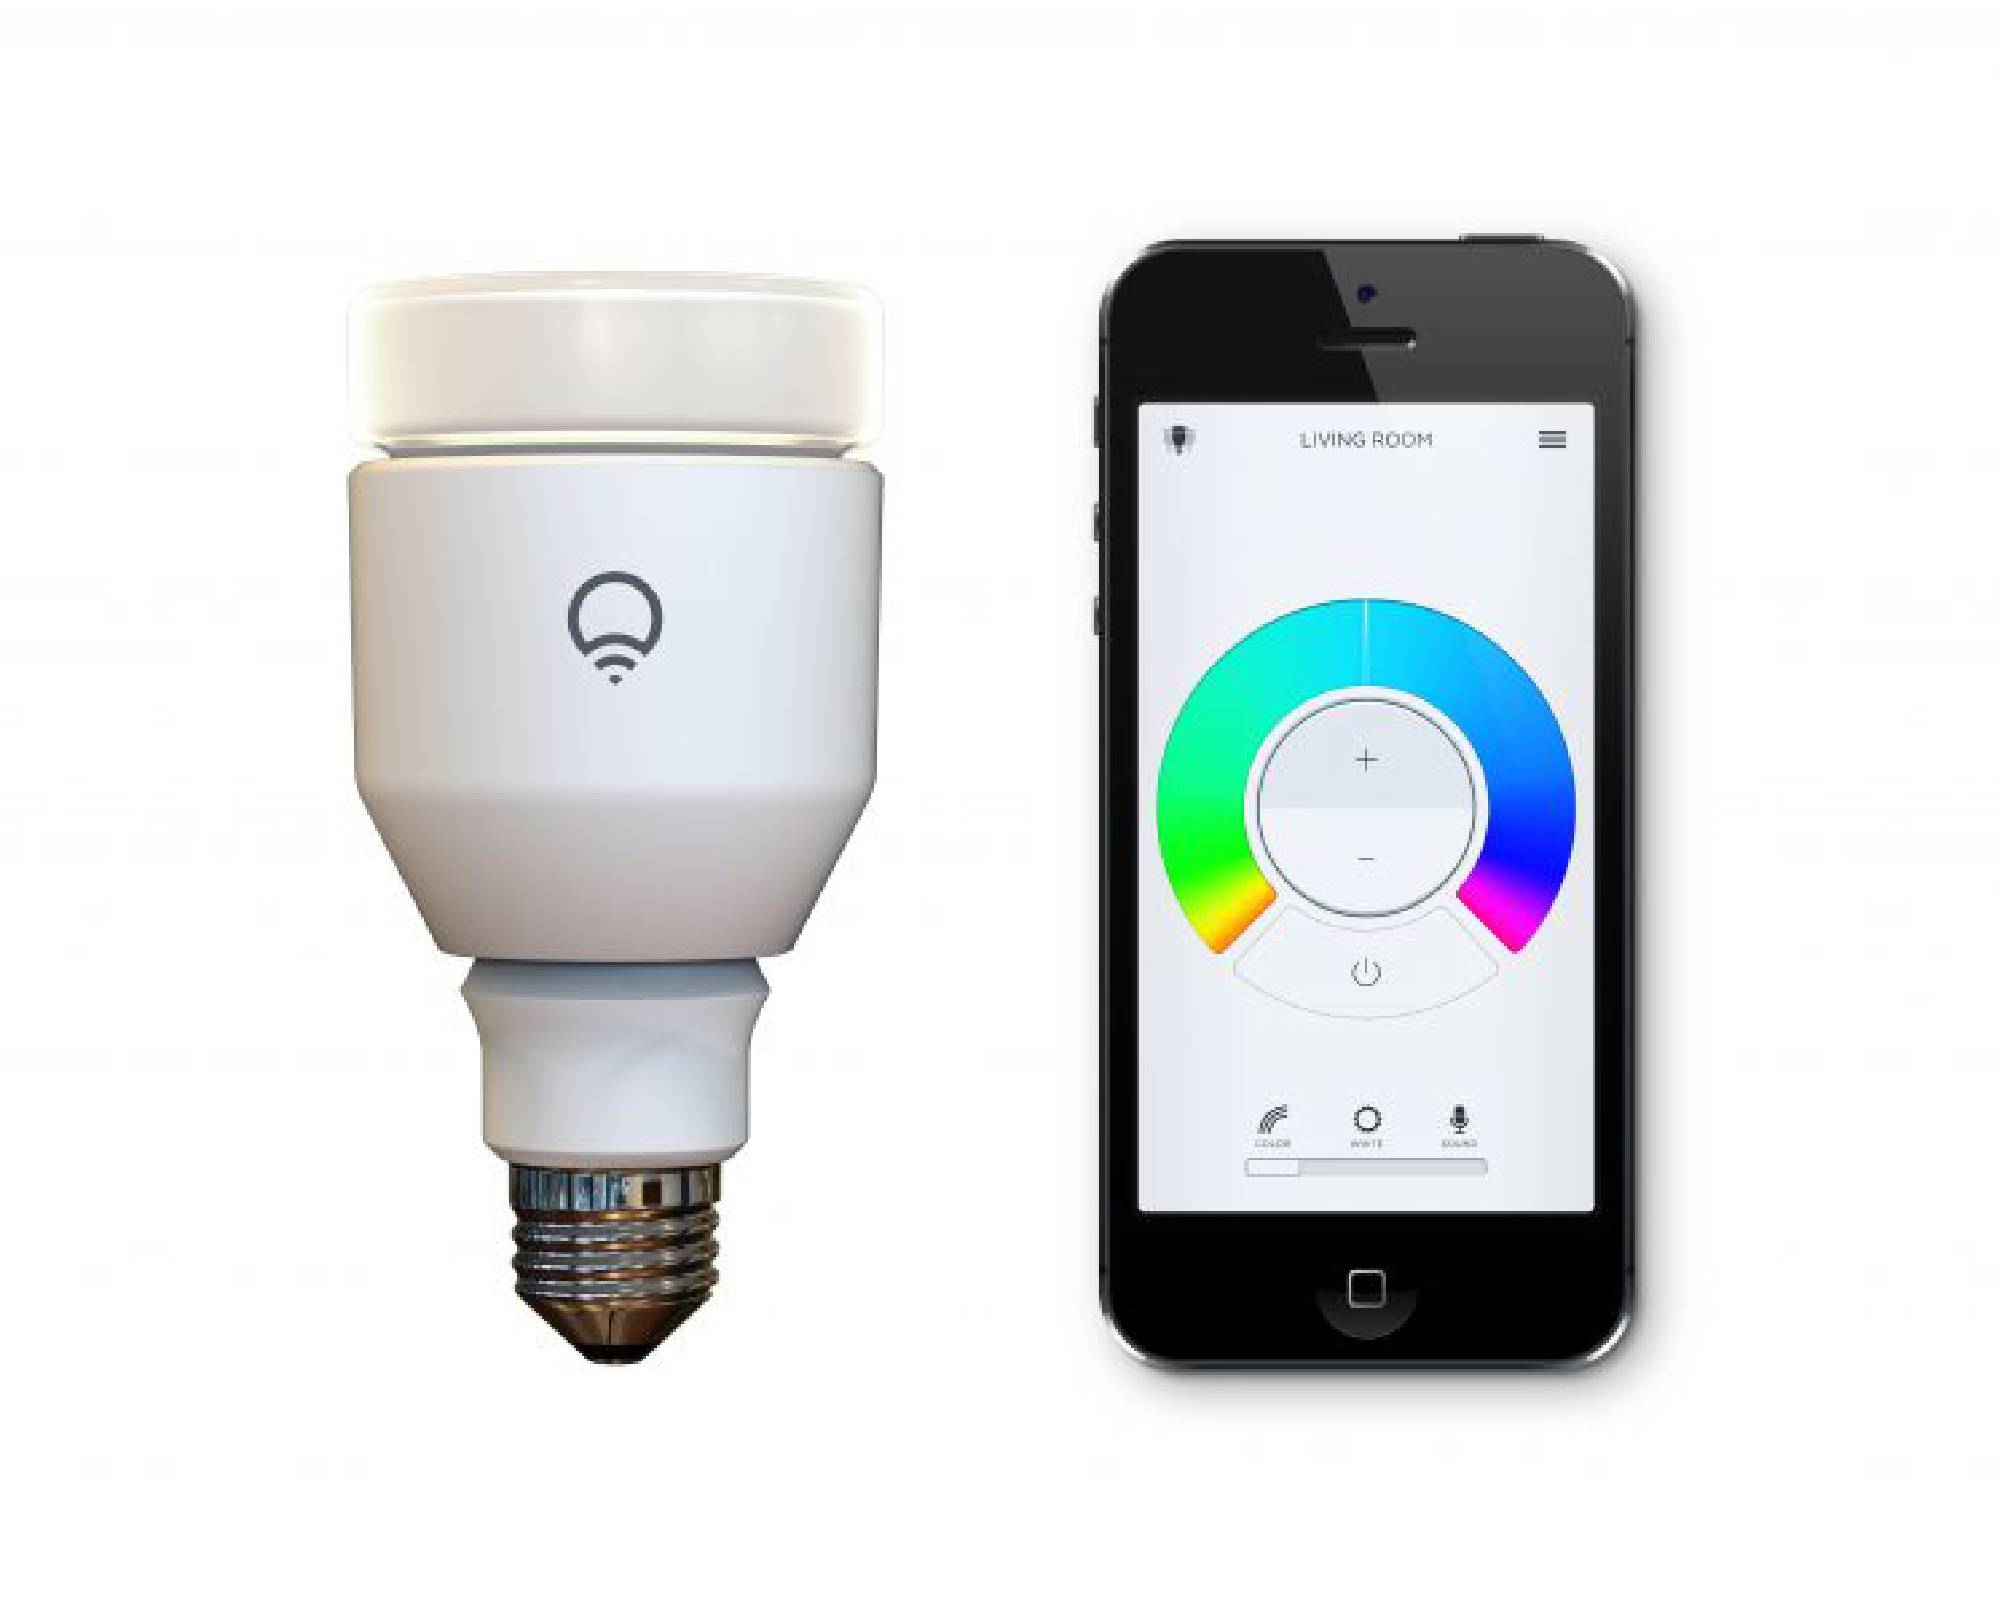
 LIFX Wifi Color Bulbs
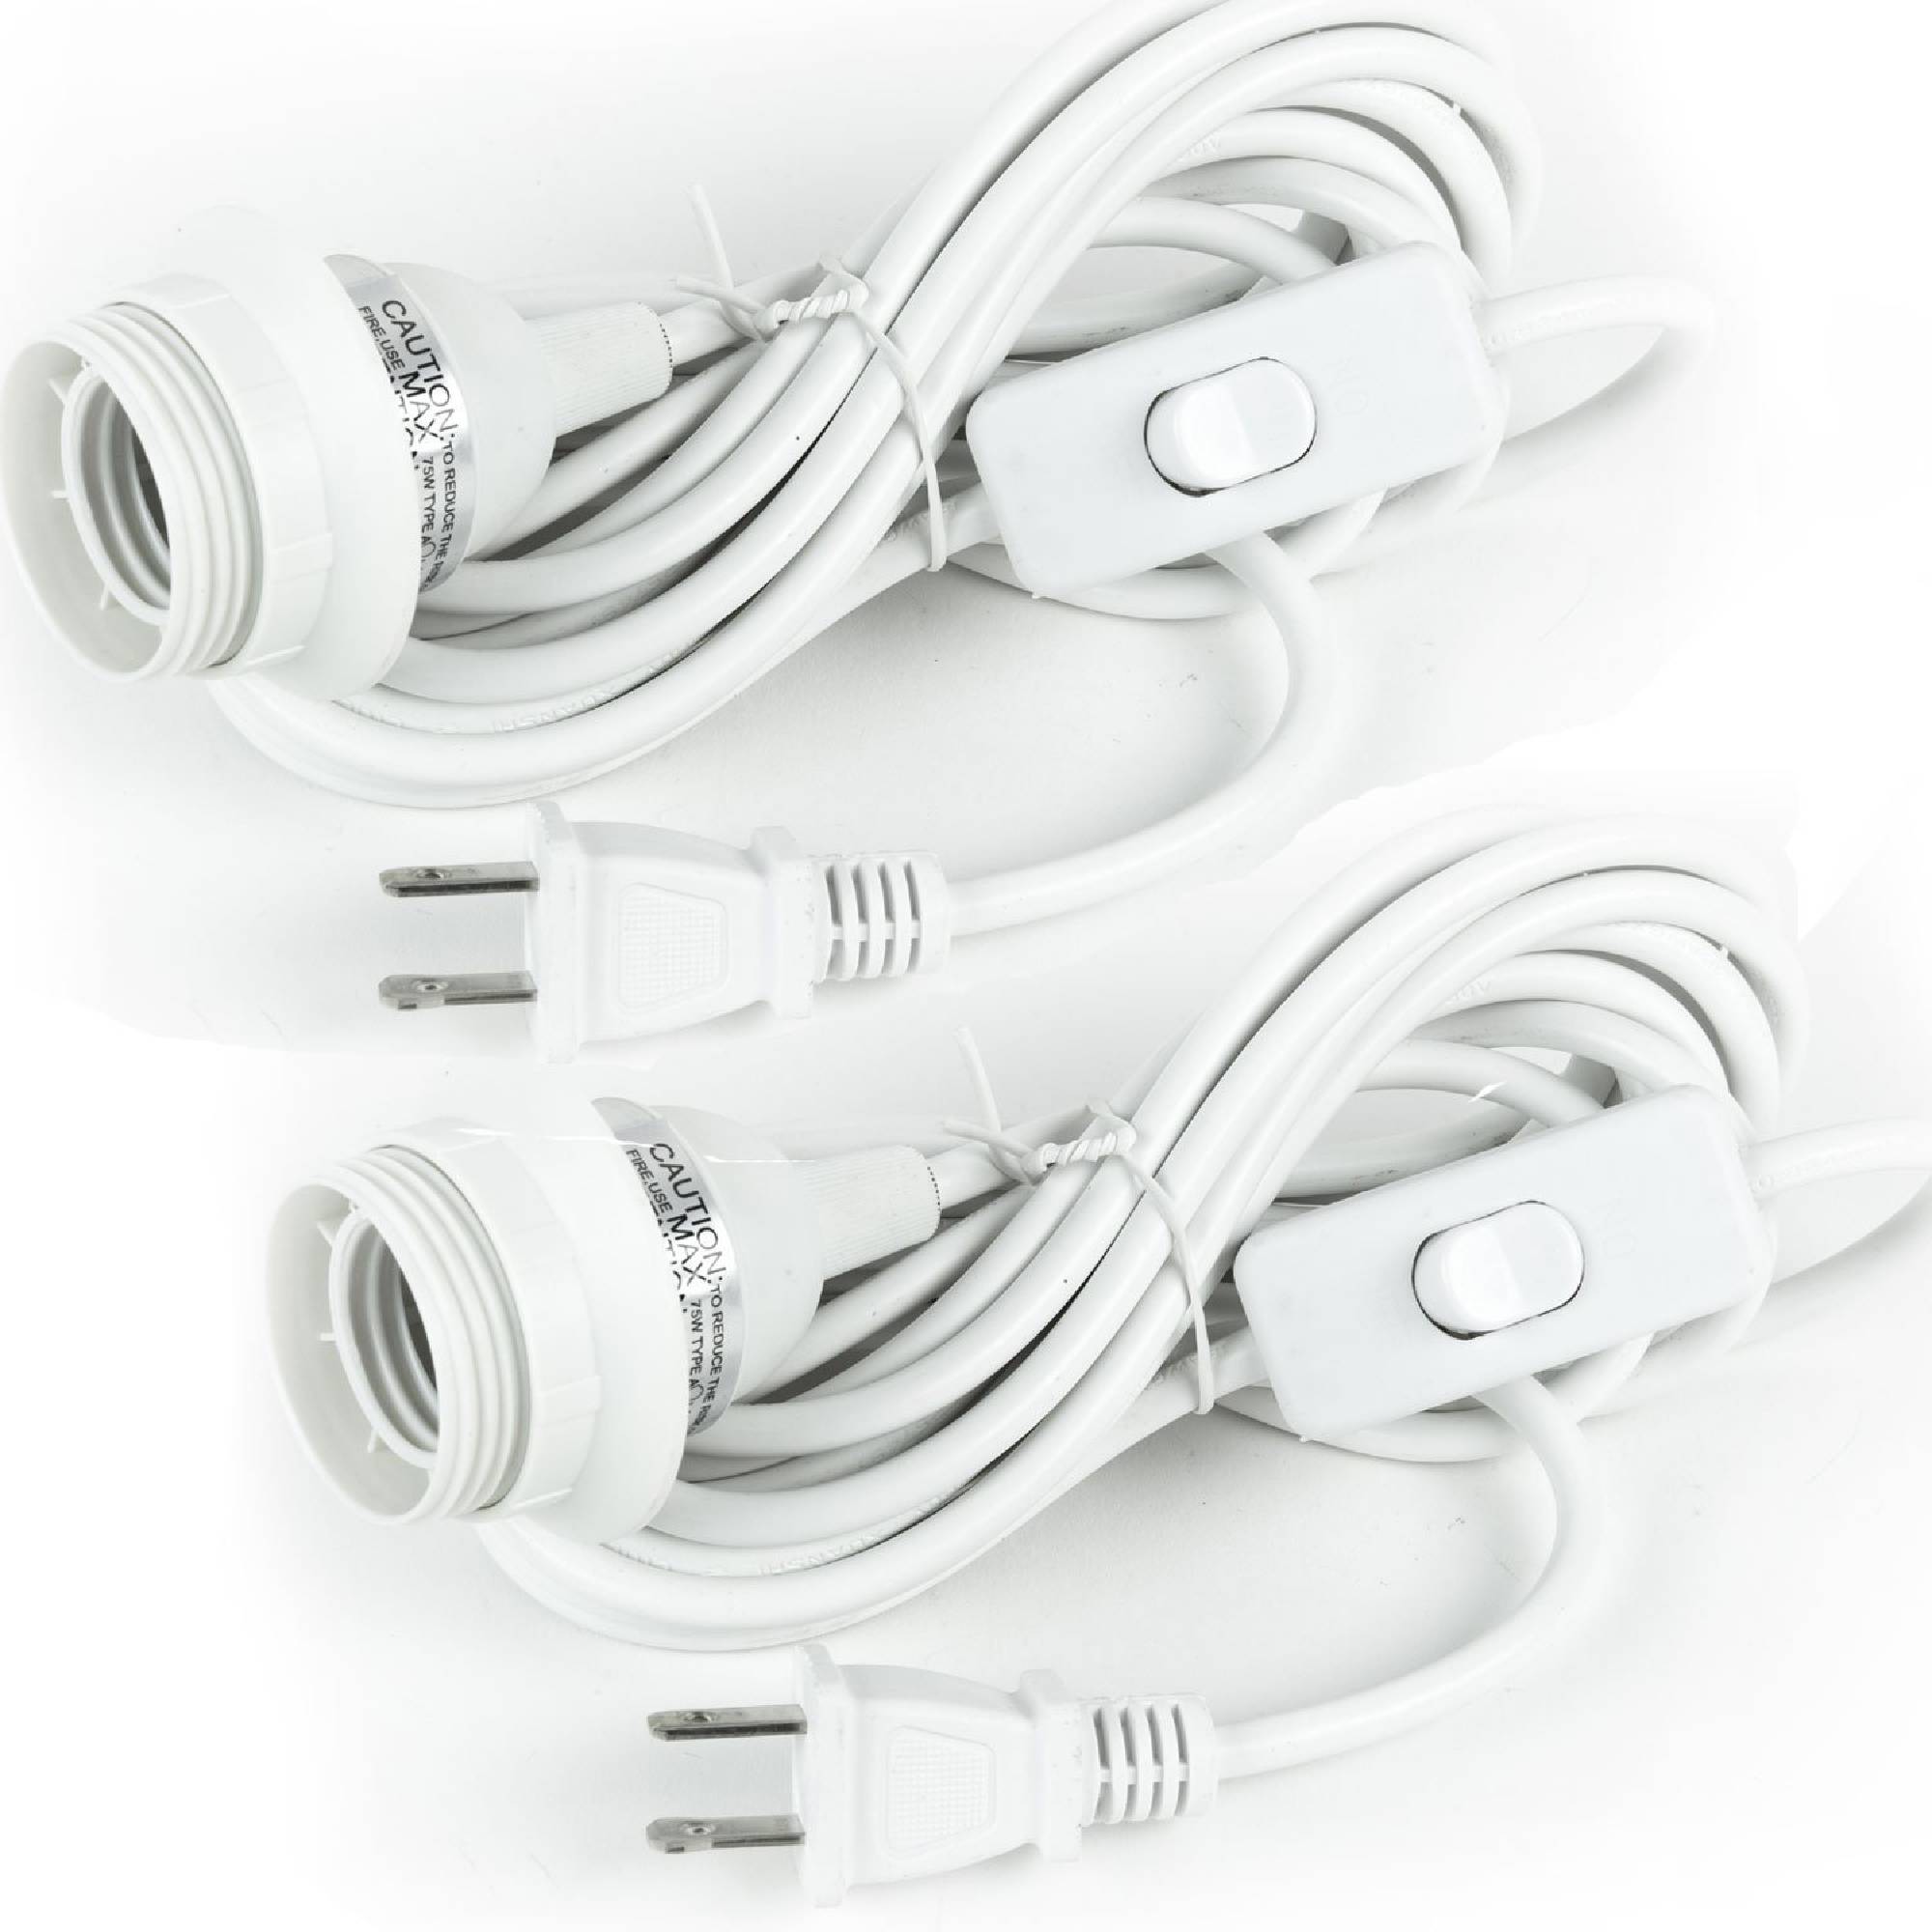
 Lamp Pendants
 ThingM Blink(1) Lights